
Intermediate · Using a Capo
Guitar Lesson 5: How to Use a Capo
A capo is a small clamp placed across the guitar neck. It presses all six strings at the same fret and raises their pitch.
The main benefit is simple: you can play familiar open-chord shapes while making them sound in a higher key.
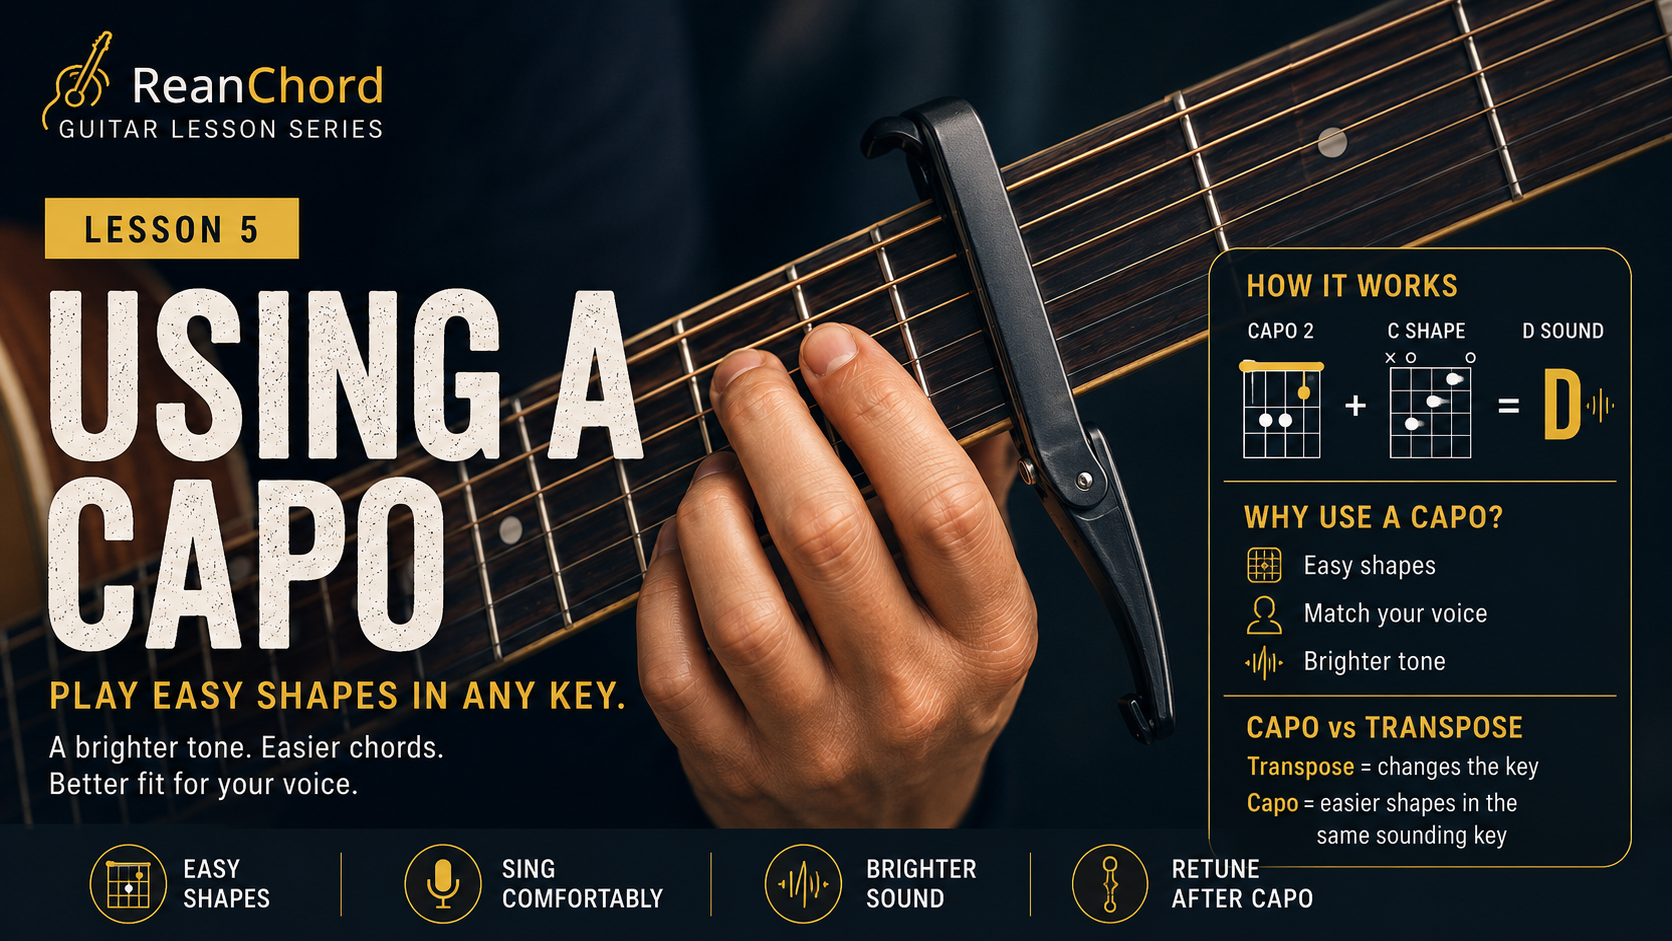
For example, placing a capo on fret 2 and playing a C shape produces the sound of a D chord. Your fingers still form C, but the capo raises every note by two semitones.
A capo is useful for beginners, singers, and acoustic guitarists who want easier shapes without changing the song’s true key.
1. What Is a Capo?
A capo acts like a movable guitar nut.
The nut normally supports the open strings at the beginning of the neck. When you place a capo on another fret, that fret becomes the new starting point for the open strings.
Every fret raises the pitch by one semitone.
Capo 1 = one semitone higher
Capo 2 = two semitones higher
Capo 3 = three semitones higher
The chord shape stays the same, but the sounding chord changes.
2. Why Use a Capo?
Play Difficult Keys with Easy Shapes
Some keys contain several barre chords or unfamiliar shapes.
For example, a song in Eb major may use:
– – –
These shapes can be difficult for a beginner.
With a capo at fret 3, you can use:
– – –
The guitar still sounds in Eb major, but your fingers use easier shapes.
Match a Singer’s Voice
A song may be too low or too high for a singer.
A capo lets you raise the pitch while keeping the same chord shapes.
This is useful when:
- Singing alone
- Accompanying another singer
- Playing in a different vocal range
- Adjusting a song for a live performance
Create a Brighter Tone
Moving the capo higher shortens the vibrating length of the strings.
This creates a brighter and lighter tone.
Capos are often used in:
- Acoustic pop
- Folk music
- Ballads
- Worship music
- Singer-songwriter arrangements
3. How the Capo Changes Chords
Each fret raises the chord by one semitone.
If you play a C shape:
No capo = C
Capo 1  = C# / Db
Capo 2  = D
Capo 3  = D# / Eb
Capo 4  = E
Capo 5  = F
Therefore:
Capo 2 + C shape = D sound
The same rule applies to every chord.
With capo 2:
C shape  sounds D
G shape  sounds A
Am shape sounds Bm
F shape  sounds G
The shape name describes what your fingers play. The sounding name describes what the listener hears.
4. A Simple Capo Example
Suppose the original progression is:
– – –
A beginner may find Bm difficult because it is usually played as a barre chord.
Place the capo on fret 2 and play:
– – –
The result sounds as:
– – –
The true key remains D major, but the shapes are easier.
5. How to Attach a Capo Correctly
Step 1: Choose the Fret
Find the capo position shown on ReanChord or in the song instructions.
Step 2: Place It Behind the Fret
Position the capo just behind the metal fret wire.
Do not place it directly on top of the fret.
Step 3: Keep It Straight
Make sure the capo presses every string evenly.
A crooked capo may cause buzzing or poor tuning.
Step 4: Check the Pressure
The capo should press firmly enough for every string to ring clearly.
Too much pressure can pull the strings sharp.
Step 5: Retune
Always check the tuning after placing or moving the capo.
The pressure may slightly change the pitch of the strings.
6. Using the Capo Control on ReanChord
Open a song page and locate the Capo control.
When ReanChord displays:
Capo 2
place the capo on the second fret.
The chords shown on the page are the shapes you should finger.
For example:
Key: D
Capo: 2
Shapes: C – G – Am – F
This means:
- The song sounds in D major
- The capo is placed at fret 2
- Your fingers play C, G, Am, and F shapes
The key label shows the true key; the chord display shows the shapes to play.
7. Choosing Beginner-Friendly Shapes
Beginners should look for capo positions that produce familiar open chords.
Useful beginner shapes include:
If a song contains difficult chords such as Bb, Eb, F#m, or Bm, try a different capo setting until the displayed shapes become easier.
Do not automatically choose the highest capo position. Also consider:
- Whether the tone sounds natural
- Whether the singer can reach the notes
- Whether the guitar sounds too thin
- Whether the capo position is comfortable
8. Capo Versus Transpose
Capo and Transpose are related, but they do different jobs.
Transpose
Transpose changes the actual musical key.
For example:
Original key: C
Transpose +2: D
The chord names also change:
– – –
becomes:
– – –
Use Transpose when the song is too high or too low for the singer.
Capo
A capo does not need to change the true sounding key.
Instead, it changes which chord shapes you use to produce that key.
For example:
True key: D
Capo 2
Shapes: C – G – Am – F
Use Capo when the key is correct but the chord shapes are difficult.
9. Best Workflow on ReanChord
Use this order:
Step 1: Fit the Voice
Use Transpose until the song is comfortable to sing.
Step 2: Simplify the Chords
Use Capo to find easier chord shapes in that key.
Step 3: Check the Sound
Play the progression and decide whether the capo position sounds natural.
Step 4: Tune Again
After attaching the capo, check all six strings.
This workflow gives you both a comfortable singing range and playable guitar shapes.
10. Common Capo Mistakes
Avoid these habits:
- Placing the capo on top of the fret
- Attaching it at an angle
- Forgetting to retune
- Reading shape names as sounding chord names
- Using a capo when Transpose is actually needed
- Choosing a position only because the chords look easy
- Applying too much pressure
- Moving the capo while the strings are still ringing
- Ignoring buzzing strings
- Assuming every song needs a capo
A capo is a tool, not a requirement.
11. Practice Exercise
Place the capo on fret 2.
Play:
| | | | |
The sounding progression is:
| | | | |
Use four down-strokes on each chord:
1 2 3 4
Then remove the capo and play the same shapes again.
Listen to how the entire progression becomes lower.
Repeat the exercise with capo positions 1, 2, 3, and 5.
12. Fifteen-Minute Practice Routine
Minutes 1–3
Attach the capo correctly and check every string.
Minutes 4–6
Play one C chord with no capo, then with capo 1, 2, and 3.
Minutes 7–9
Play:
– – –
with capo 2.
Minutes 10–12
Say both the shape name and sounding chord name aloud.
Minutes 13–15
Use ReanChord to compare two capo settings for the same song.
Lesson Checklist
Before moving forward, make sure you can:
- Explain what a capo does
- Place it correctly behind a fret
- Understand that each fret raises one semitone
- Separate chord shapes from sounding chords
- Use the ReanChord Capo control
- Explain the difference between Capo and Transpose
- Choose beginner-friendly open shapes
- Retune after attaching the capo
- Play one progression at different capo positions
Final Encouragement
A capo does not replace learning new chords, but it makes many songs more accessible.
It can help you avoid difficult barre chords, match a singer’s range, and create a brighter acoustic sound.
Remember the main idea:
Transpose chooses the right key. Capo chooses easier shapes for that key.
Next Lesson
Transposing and Musical Keys
Next, you will learn how keys organize chords, how to move a song higher or lower, and how ReanChord keeps every chord relationship correct while transposing.