
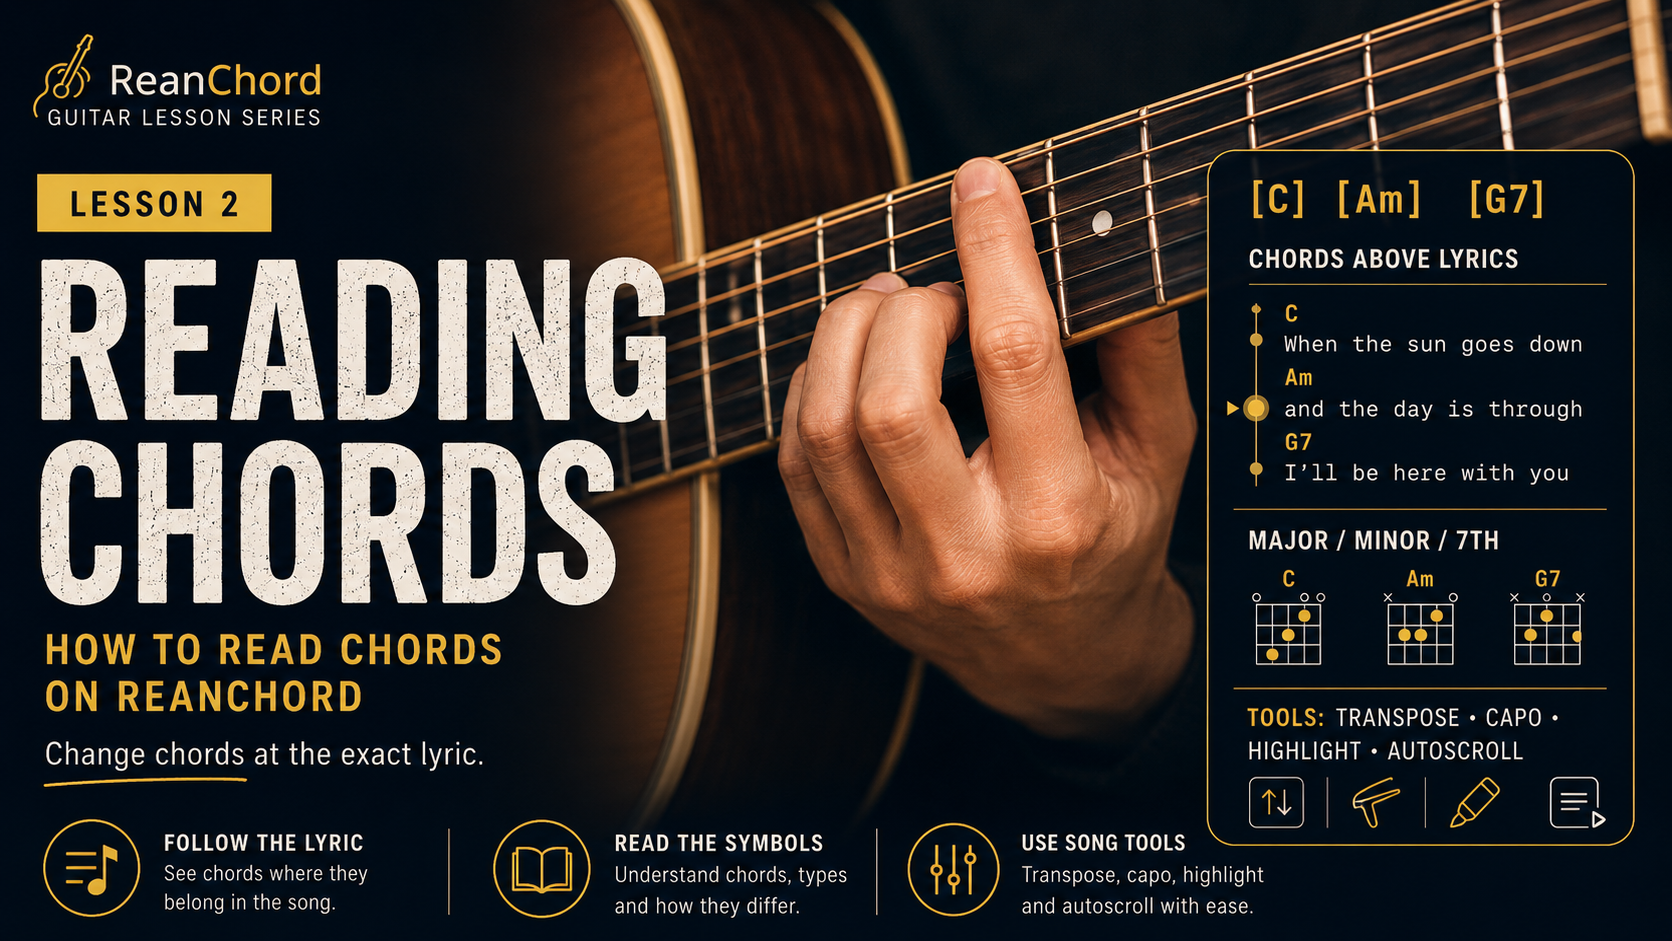
Beginner · How to Read Chords on ReanChord
Guitar Lesson 2: How to Read Chords on ReanChord
Welcome to your second guitar lesson.
In the first lesson, you learned the basic parts of the guitar, the names of the six strings, how to tune the instrument, how to hold it correctly, and how guitarists number their fingers.
Now you are ready to learn one of the most important skills for playing songs: reading chords above lyrics.
A chord is a group of notes played together. When several strings are played at the same time in a particular shape, they create a chord. Chords support the melody of a song and give the music its mood, harmony, and direction.
On ReanChord, chords are written directly above the lyrics. This allows you to sing or follow the words while changing chords at the correct moment.
This lesson explains:
- How chords appear above lyrics
- When to change from one chord to another
- What common chord symbols mean
- How song sections are organized
- How bar lines help you follow rhythm
- How slash chords and seventh chords work
- How to use Transpose, Capo, Highlight, and Autoscroll
- How to practice a chord-and-lyric song correctly
1. What Is a Chord?
A chord is usually made from three or more notes played together.
For example, the C major chord contains the notes:
When these notes are played together, they produce the sound of a C major chord.
On guitar, you normally create a chord by pressing several strings at different frets and then strumming multiple strings together.
Each chord has its own shape. When you see a chord name such as , , or , that name tells you which shape to play.
You do not need to understand advanced music theory before playing songs. At the beginner level, your main goals are:
- Recognize the chord name.
- Build the correct chord shape.
- Change to it at the right moment.
- Keep a steady rhythm.
2. Chords Above the Lyrics
On every ReanChord song page, the chord name appears directly above the word or syllable where the chord change happens.
Example:
[C]              [G]
I found a love   for me
This means:
- Begin the lyric while playing the C chord.
- Continue playing C through the words “I found a love.”
- Change to G when you reach the word “for.”
- Continue playing G until another chord appears.
The horizontal position of the chord is important. It shows approximately where the chord change belongs in the lyric.
Another example:
[Am]                 [F]
When the night feels cold
[C]                    [G]
I will find my way back home
You begin the first line with Am and change to F at the word or syllable directly below it. On the next line, you begin with C and later change to G.
Important Rule
Do not wait until after you sing the marked syllable.
The chord should change as you reach that syllable.
At first, this may feel difficult because your singing, strumming, and chord-changing hands are doing different jobs. Practice slowly and separate the tasks when necessary.
3. How to Find the Exact Chord-Change Point
The chord name is placed above the syllable where the harmony changes.
Consider this example:
[C]               [Am]
You are the light inside my heart
If [Am] is positioned above the word “inside,” change to Am as you begin singing “in-”.
Some words have more than one syllable. A chord may change in the middle of a word.
Example:
[G]              [D]
I will re-member you
The D chord might begin on the second syllable of “remember,” depending on its placement.
This is why ReanChord places each chord carefully above the lyric. The chord should not simply be read as belonging to the entire line. Its exact position tells you when to move.
Practice Without Strumming
Before playing the full song:
- Read the lyrics aloud.
- Tap your hand whenever a chord symbol appears.
- Say the chord name at the change point.
- Repeat until the sequence feels natural.
For example:
C — “I found a love” — G — “for me.”
This simple exercise trains your timing before adding difficult finger movements.
4. Understanding Chord Symbols
Chord symbols tell you which harmony and guitar shape to play.
Here are some common examples:
[C] [G] [D] [Am] [Em] [G7] [Cmaj7] [C/E]
The square brackets help separate the chord symbols from the lyrics.
The brackets are not part of the musical name. [C] simply means the C chord.
5. Major Chords
A capital letter by itself usually represents a major chord.
Examples:
- = C major
- = D major
- = E major
- = F major
- = G major
- = A major
Major chords often sound bright, stable, strong, or open. However, the emotional effect depends on the song, melody, tempo, and surrounding chords.
When the chord symbol is only a capital letter, do not add “major” while reading it aloud. Guitarists normally say “C,” not “C major,” unless they need to make the distinction clear.
Example:
[C]          [G]
Stay with me tonight
Play C first, then change to G.
6. Minor Chords
A capital letter followed by a lowercase m means a minor chord.
Examples:
- = A minor
- = B minor
- = C minor
- = D minor
- = E minor
- = F minor
- = G minor
Minor chords often sound darker, softer, more serious, or more emotional than major chords.
Be careful not to ignore the lowercase m.
and are different chords.
and are also different chords.
Example:
[Am]                 [Em]
I remember every goodbye
Begin with A minor, then change to E minor at the marked lyric.
7. Chords with Numbers
A number after a chord letter means that an extra note or a different chord quality has been added.
Common examples include:
Dominant Seventh Chords
A chord such as is called G dominant seventh.
It has a stronger sense of movement and often sounds like it wants to resolve to another chord.
For example, G7 commonly moves to C.
[G7]               [C]
Take me back home again
Major Seventh Chords
A symbol such as means C major seventh.
Major seventh chords often sound smooth, dreamy, warm, or sophisticated.
Do not confuse with . They are different chords.
Minor Seventh Chords
A symbol such as means A minor seventh.
It is related to the Am chord but includes an additional note that gives it a softer or more open sound.
Suspended Chords
Symbols such as and are suspended chords.
They often create tension or an open sound before returning to D major.
You do not need to memorize every extended chord immediately. When you encounter an unfamiliar symbol, open the chord diagram and learn its shape slowly.
8. Slash Chords
A slash chord contains two parts, such as:
The first letter tells you the main chord:
- Play a C chord.
The letter after the slash tells you the bass note:
- E should be the lowest note you hear.
Therefore, means:
Play a C chord with E in the bass.
Other examples include:
Slash chords are often used to create smoother bass movement between ordinary chords.
For example:
[C]     [G/B]     [Am]
Hold on to my heart
The bass notes may move from C to B to A, creating a smooth descending line.
Beginners do not need to fear slash chords. In many cases, the shape is only a small variation of a chord you already know.
9. Bar Lines and Measures
The vertical symbol | is called a bar line.
It separates the music into measures, also called bars.
Example:
| C | G | Am | F |
This shows four measures:
- One measure of C
- One measure of G
- One measure of Am
- One measure of F
In many popular songs, each measure contains four beats.
You might count:
1 2 3 4 | 1 2 3 4 | 1 2 3 4 | 1 2 3 4
    C          G          Am         F
If one chord appears between two bar lines, it often lasts for the entire measure.
However, two chords can also appear inside one measure:
| C G | Am F |
In a four-beat measure, this often means:
- Play C for two beats.
- Play G for two beats.
- Play Am for two beats.
- Play F for two beats.
The exact timing depends on the song arrangement, so listen to the recording when possible.
10. Song Sections
Songs are divided into sections. ReanChord labels these sections so you can understand the structure.
Common labels include:
[Intro][Verse][Pre-Chorus][Chorus][Post-Chorus][Bridge][Instrumental][Solo][Outro]
Intro
The intro is the opening section before the main singing begins.
It may contain a chord progression, guitar riff, or instrumental melody.
Example:
[Intro]
| C | G | Am | F |
Verse
The verse develops the story or message of the song.
Different verses often use the same melody and chord progression but have different lyrics.
Pre-Chorus
The pre-chorus connects the verse to the chorus.
It often builds energy and prepares the listener for the main hook.
Chorus
The chorus is usually the most memorable section.
It often contains the main message, title, or emotional center of the song.
Bridge
The bridge introduces contrast.
It may use a new chord progression, melody, rhythm, or lyrical idea before returning to the chorus.
Outro
The outro is the ending section.
It may repeat the chorus, fade out, or use the same progression as the intro.
Understanding the section labels helps you see the complete arrangement instead of reading the song as one long block of lyrics.
11. Tools on Each ReanChord Song
ReanChord provides tools that make songs easier to learn and perform.
Transpose
The Transpose tool shifts every chord in the song higher or lower.
For example, moving one step upward may change:
C – G – Am – F
to:
C# – G# – A#m – F#
Transposing is useful when:
- The song is too high for your voice.
- The song is too low for your voice.
- You want chord shapes that match another instrument.
- You need to change the key for a singer.
Remember that transposing changes the musical key, but the chord relationships remain the same.
Capo
A capo is a clamp placed across the guitar neck.
It raises the pitch of all six strings while allowing you to use familiar open-chord shapes.
For example, a song may originally use difficult chords such as:
Bb – F – Gm – Eb
With a capo, ReanChord may show easier shapes such as:
G – D – Em – C
The capo position makes those easier shapes sound in the original key.
Always place the capo just behind the chosen fret, not directly on top of the fret wire.
After attaching a capo, check your tuning again.
Highlight
The Highlight tool marks the lyric syllable connected to each chord.
This is especially useful when:
- A chord changes in the middle of a word.
- Several chord changes happen quickly.
- The spacing is difficult to follow on a small screen.
- You are learning the song for the first time.
Use Highlight until the chord-change points become familiar.
Autoscroll
The Autoscroll tool moves the page automatically while you play.
This lets you keep both hands on the guitar.
Before starting:
- Choose a comfortable scroll speed.
- Place the song near the beginning.
- Test the speed without playing.
- Adjust it so the next section appears before you need it.
A scroll speed that is too fast can make you rush. A speed that is too slow may leave you waiting between lines.
12. A Step-by-Step Way to Learn a ReanChord Song
Do not begin by trying to sing, strum, read, and change chords at full speed.
Use this process instead.
Step 1: Review the Chord List
Look through the entire song and write down every chord used.
Example:
, ,, ,
Practice each shape separately.
Step 2: Check Difficult Chords
Identify any barre chords, slash chords, or unfamiliar seventh chords.
Open the chord diagram and study the fingering.
Step 3: Read the Structure
Find the intro, verses, chorus, bridge, and outro.
Notice which sections repeat.
Step 4: Speak the Lyrics
Read the lyrics aloud without playing.
Tap when each chord change appears.
Step 5: Play Only the Chords
Ignore the lyrics and play the chord progression slowly.
Use one down-strum for each chord.
Step 6: Add Counting
Count the beats:
1 2 3 4
Change chords without stopping the count.
Step 7: Add the Lyrics
Speak or sing softly while using simple down-strums.
Do not use a complex strumming pattern yet.
Step 8: Add the Real Rhythm
After the chord changes feel comfortable, begin practicing the intended strumming pattern.
Step 9: Use Autoscroll
Set a slow scrolling speed and play through the complete song.
Step 10: Record Yourself
Listen for:
- Late chord changes
- Early chord changes
- Pauses between chords
- Uneven rhythm
- Muted strings
- Lyrics that do not align with the harmony
13. Common Reading Mistakes
Changing After the Word
The chord should change when you reach the marked syllable, not after finishing the word.
Looking Only at the Chord Line
Keep your eyes aware of both the chords and the lyrics.
Reading too far above the lyric can make you lose the exact change point.
Stopping During Every Chord Change
A beginner may pause the rhythm while moving the fingers.
Practice the movement slowly enough that the beat continues.
Ignoring Repeated Sections
A chorus may appear several times with the same chords.
Recognizing repetition reduces the amount of new material you must learn.
Confusing Major and Minor
and are not the same chord.
Always check for the lowercase m.
Misreading Slash Chords
In , D is the main chord and F# is the bass note.
Do not read it as two separate chords.
Transposing Without Checking Playability
A transposed key may contain difficult barre chords.
Use the Capo tool when you want to preserve easier open-chord shapes.
14. Beginner Practice Exercise
Practice the following four-chord progression:
| | |||
Count four beats per measure:
C:  1 2 3 4
G:  1 2 3 4
Am: 1 2 3 4
F:  1 2 3 4
Use one down-strum on every beat.
Then place the progression above a simple lyric:
[C]                    [G]
I will keep on walking forward
[Am]                     [F]
Even when the road feels long
Start with C. Change to G at the marked word. Begin the next line with Am and change to F at the correct syllable.
Repeat the exercise slowly until the chord changes and lyrics stay together.
Lesson Checklist
Before moving to the next lesson, make sure you can:
- Explain what a chord is
- Read chord names above lyrics
- Change chords at the marked syllable
- Recognize major and minor chord symbols
- Understand common seventh-chord symbols
- Explain the basic meaning of a slash chord
- Recognize a bar line
- Identify the main sections of a song
- Use Transpose to change the key
- Understand how Capo shapes work
- Use Highlight to locate chord-change points
- Set Autoscroll to a comfortable speed
- Practice chords separately before adding lyrics
Final Encouragement
Reading chords above lyrics may feel slow at first, but it becomes natural with practice.
At the beginning, your eyes are reading the lyrics, your mind is remembering the next chord, your fretting hand is building the shape, your strumming hand is keeping rhythm, and your voice may be singing at the same time. That is a lot of coordination.
Do not judge your progress by how fast you can play today.
Start with one chord change. Then connect two chords. Then play one complete line. Finally, combine the lines into a full section.
Keep the rhythm simple, move slowly, and let accuracy come before speed.
Next Lesson
Your First Open Chords
In the next lesson, you will learn beginner-friendly open chord shapes, how to place each finger correctly, how to test every string, and how to change between chords without stopping the rhythm.
— Written by the ReanChord team.