
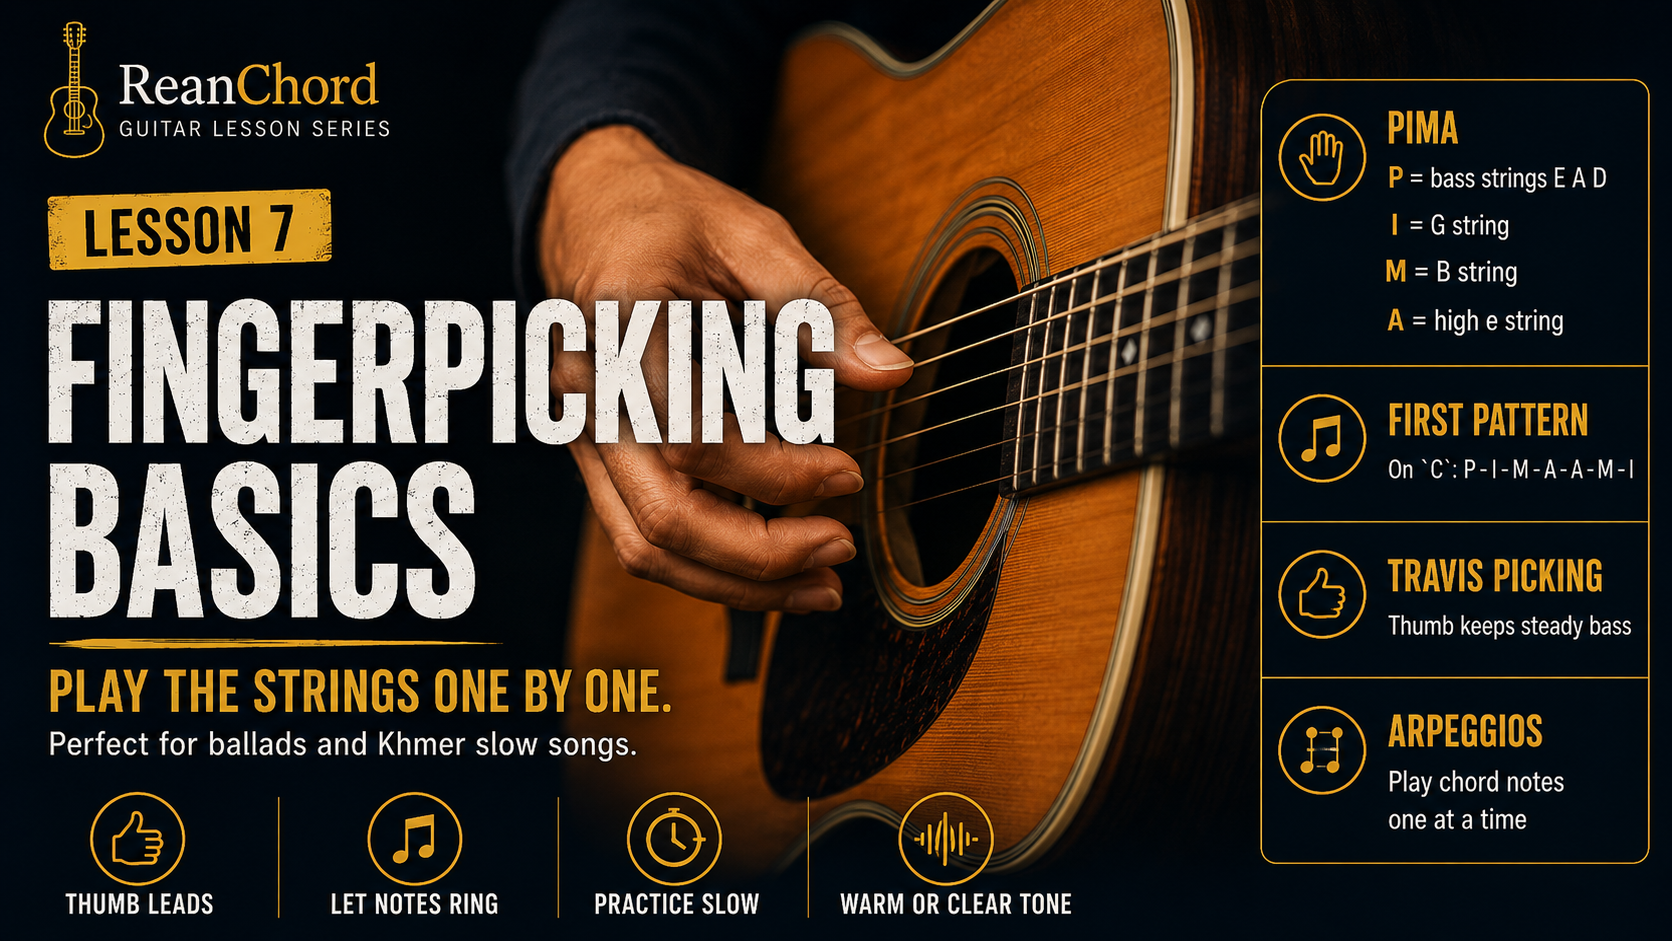
Intermediate · Fingerpicking Basics
Fingerpicking means playing the strings one at a time with your fingers instead of strumming them all together. It creates a softer, more detailed sound and is perfect for ballads, acoustic songs, and many Khmer slow songs.
Unlike strumming, fingerpicking lets the bass, harmony, and melody breathe separately. This gives the guitar a fuller and more expressive sound, even when you are playing alone.
In this lesson, you will learn the basic right-hand finger names, your first picking pattern, simple arpeggios, the idea behind Travis picking, and how to practice fingerpicking smoothly.
Chord-label rule: Every chord name in this lesson is marked like , , , or .
1. Right-Hand Finger Names: PIMA
Fingerstyle guitar uses four main picking fingers. The system is called PIMA:
- P = thumb
- I = index
- M = middle
- A = ring
Each finger usually has its own string area.
Standard Assignment
- P (thumb) plays the bass strings: , , and
- I (index) plays the string
- M (middle) plays the string
- A (ring) plays the high string
This is the most useful starting position for beginners.
Your thumb handles rhythm and bass movement, while the fingers add the upper notes of the chord.
2. Hand Position
Keep your picking hand relaxed. Do not squeeze the fingers together or hold the wrist too stiffly.
A good beginner position is:
- Rest the forearm lightly on the guitar body
- Let the wrist stay relaxed and slightly curved
- Keep the thumb in front of the fingers, not tucked behind them
- Let the fingertips approach the strings naturally
Try to avoid large hand movements. Fingerpicking works best with small, efficient motions.
Some players lightly anchor the hand by brushing the pinky near the guitar top, but do not press hard. A light and relaxed contact is enough.
3. Your First Pattern
Start with a chord.
The thumb will play the 5th string because has its bass note on the string.
Try this pattern:
P – I – M – A – A – M – I
On a chord, that means:
- P = 5th string
- I = string
- M = string
- A = high string
- then return: A – M – I
This creates a smooth up-and-down sound.
Practice Method
- Hold a clean chord.
- Play the notes slowly in order.
- Let every note ring.
- Do not rush the return pattern.
- Keep the volume even.
If one note sounds too loud, relax that finger slightly and try again.
4. Let the Notes Ring
One of the most beautiful parts of fingerpicking is note overlap.
When playing a pattern, do not lift the chord too early. Keep the fretting hand steady so each note can ring into the next one.
This creates an arpeggiated texture instead of a dry, disconnected sound.
For example, on a chord:
P – I – M – A
should sound like one flowing musical idea, not four isolated notes.
This is especially important in slow songs and emotional ballads.
5. What Is an Arpeggio?
An arpeggio is when you play the notes of a chord one at a time instead of all together.
If you strum , you hear the whole chord at once.
If you fingerpick the notes of from low to high, you are playing an arpeggio.
Example on :
P – I – M – A
You can also reverse the direction:
A – M – I – P
Arpeggios are one of the foundations of fingerstyle guitar. Many intros, verses, and slow-song accompaniments use this sound.
6. Practice a Two-Chord Change
Do not jump into many chords too quickly.
Start with just two easy chords, such as and , or and .
Example progression:
–
Play one full pattern on , then one full pattern on .
This helps you practice:
- keeping the pattern steady
- changing chords without stopping
- letting the notes ring
- keeping the bass note correct
On , the thumb usually plays the 6th string. On , it usually plays the 5th string.
This teaches your thumb to follow the chord root naturally.
7. Travis Picking
Travis picking is a fingerpicking style where the thumb keeps a steady alternating bass while the fingers play upper-string notes on top.
It is one of the most important fingerstyle techniques in acoustic guitar.
Basic Idea
The thumb alternates between two bass strings while the fingers fill in the higher notes.
For example, on a chord, the thumb may alternate between:
- 5th string
- 4th string
while the fingers play notes on the , , and high strings.
A simple beginner idea looks like this:
P – I – P – M
or
P – I – P – M – P – I – P – A
The exact pattern can vary, but the main idea stays the same:
the thumb acts like a steady engine.
This is why Travis picking works so well in acoustic songs. It combines rhythm, bass, and melody at the same time.
8. Thumb Control
In fingerpicking, the thumb is extremely important.
It does not only play notes; it also helps control time.
Practice your thumb separately if necessary.
Try this on a chord:
- play the 5th string with the thumb
- then the 4th string
- then back to the 5th
- then back to the 4th
Count slowly:
1 2 3 4
The thumb should sound steady and even, almost like a metronome.
Once the thumb feels stable, add the fingers on top.
9. Nails or Fingertips?
Both methods are valid.
Using Fingernails
A small amount of nail can produce:
- a clearer sound
- more brightness
- better note definition
Using the Fleshy Tips
Using the fingertips produces:
- a warmer sound
- a softer attack
- a more mellow tone
Beginners can start with whatever feels comfortable. You do not need long nails to begin fingerpicking well.
10. Common Mistakes
Avoid these habits:
- Plucking too hard
- Lifting the chord too early
- Letting the thumb lose the beat
- Moving the whole hand too much
- Tensing the wrist
- Practicing too fast
- Adding too many chords too early
- Playing every note with uneven volume
Fingerpicking should feel controlled, calm, and even.
11. Practice Routine
Minutes 1–3
Place your hand in PIMA position and pluck open strings slowly.
Minutes 4–6
Hold and play:
P – I – M – A – A – M – I
Minutes 7–9
Repeat the same pattern on .
Minutes 10–12
Practice a two-chord change:
–
Minutes 13–15
Try a simple alternating-bass idea using the thumb, then add I and M.
Lesson Checklist
Before moving forward, make sure you can:
- explain what fingerpicking is
- identify
P,I,M, and - assign each finger to the correct string area
- play a basic arpeggio
- let notes ring smoothly
- play a simple two-chord fingerpicking pattern
- understand the idea of Travis picking
- keep the thumb steady
- choose either nails or fingertips comfortably
Encouragement
Fingerpicking may feel slow at first, but that is normal. Your hand is learning independence: the thumb must stay steady while the fingers move with control.
Do not rush toward speed. Focus first on tone, even timing, and relaxed motion.
A simple pattern played beautifully on and is more valuable than a difficult pattern played carelessly.
Next Lesson
Chord Theory and the Number System
Next, you will learn how chords are built, why major and minor chords sound different, and how number patterns like 1–4–5 and 1–5–6–4 help you understand songs more quickly.